Managing Plans or Requests
Transportation Plans and Requests
The transportation “plans and requests” tab allows users to add various types of transportation that can be used to track personnel, plan security details, and share those plans with vendors that the user has added into Predictions.
Protection subscribers also can assign clients and unique checklists to a specific request or plan.
Approve a Transportation Plan/Request from an Associate
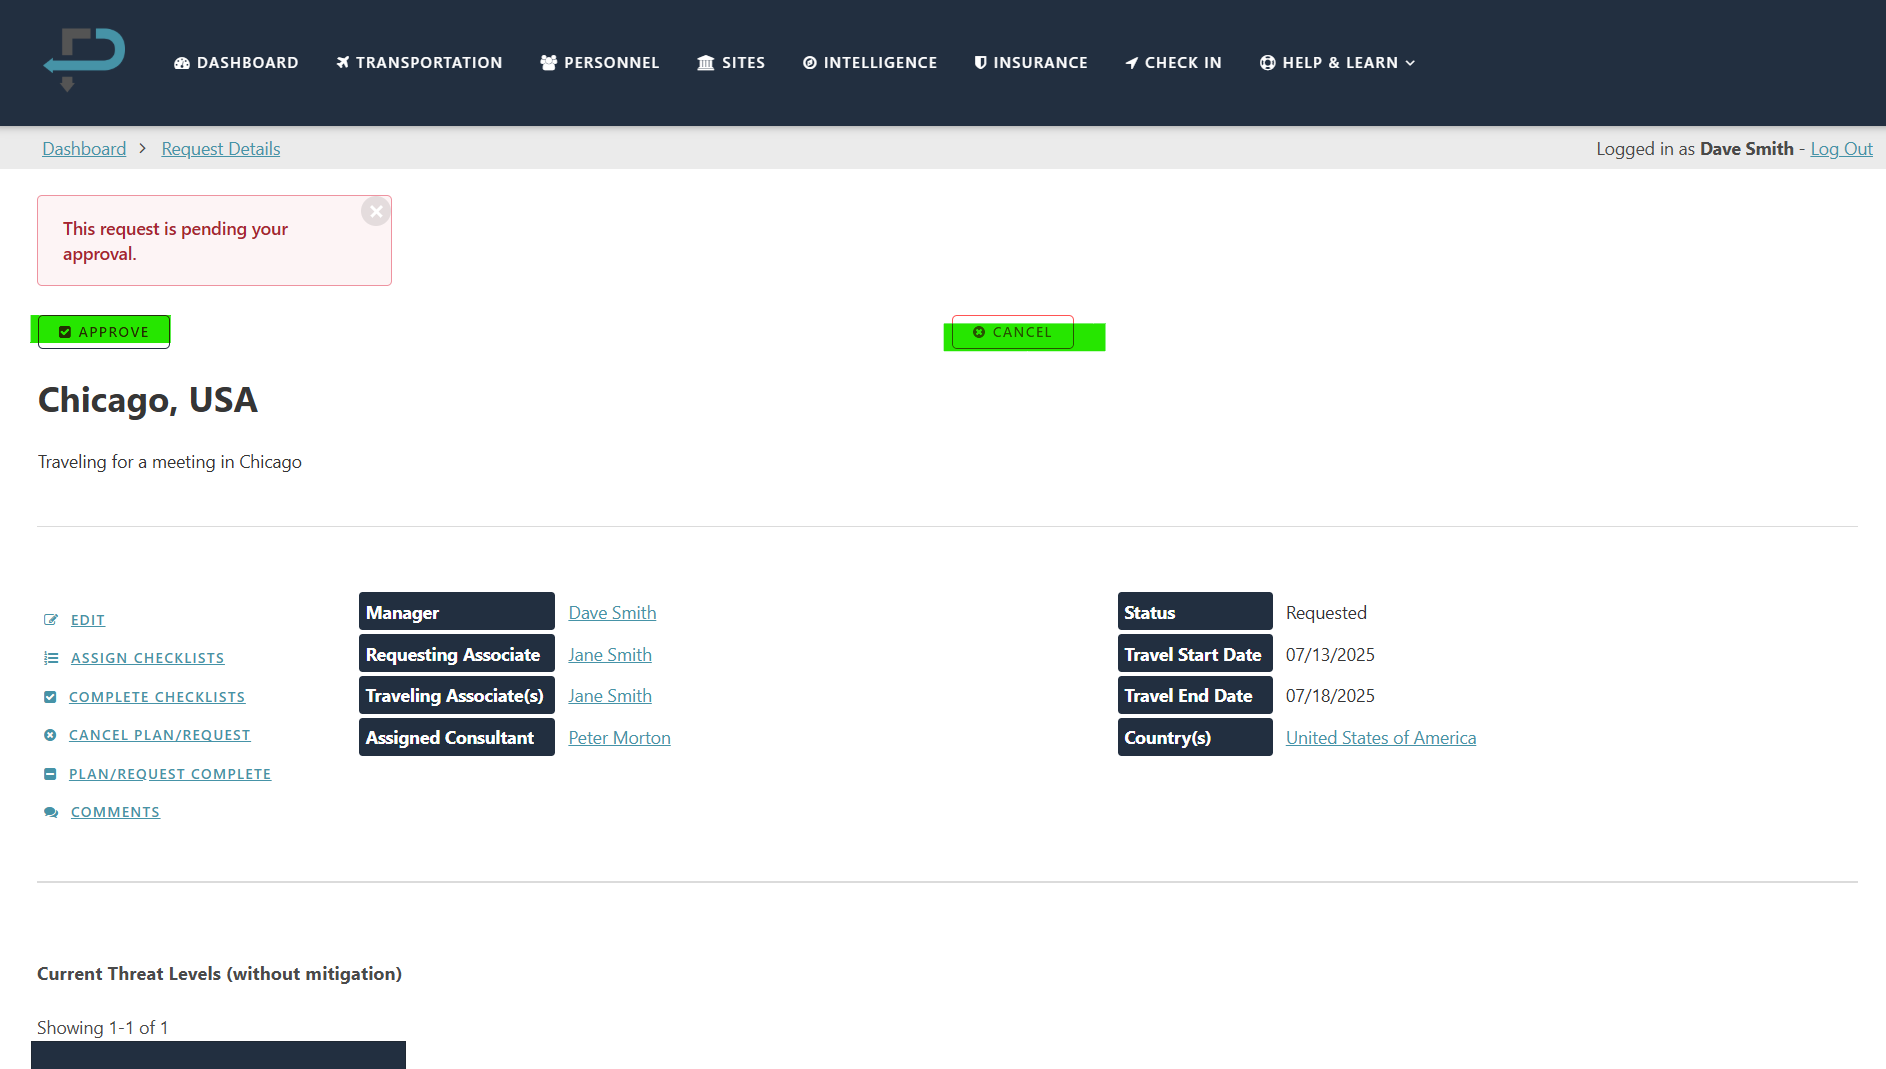
Administrators are allowed to approve or cancel plans/requests submitted by associates.
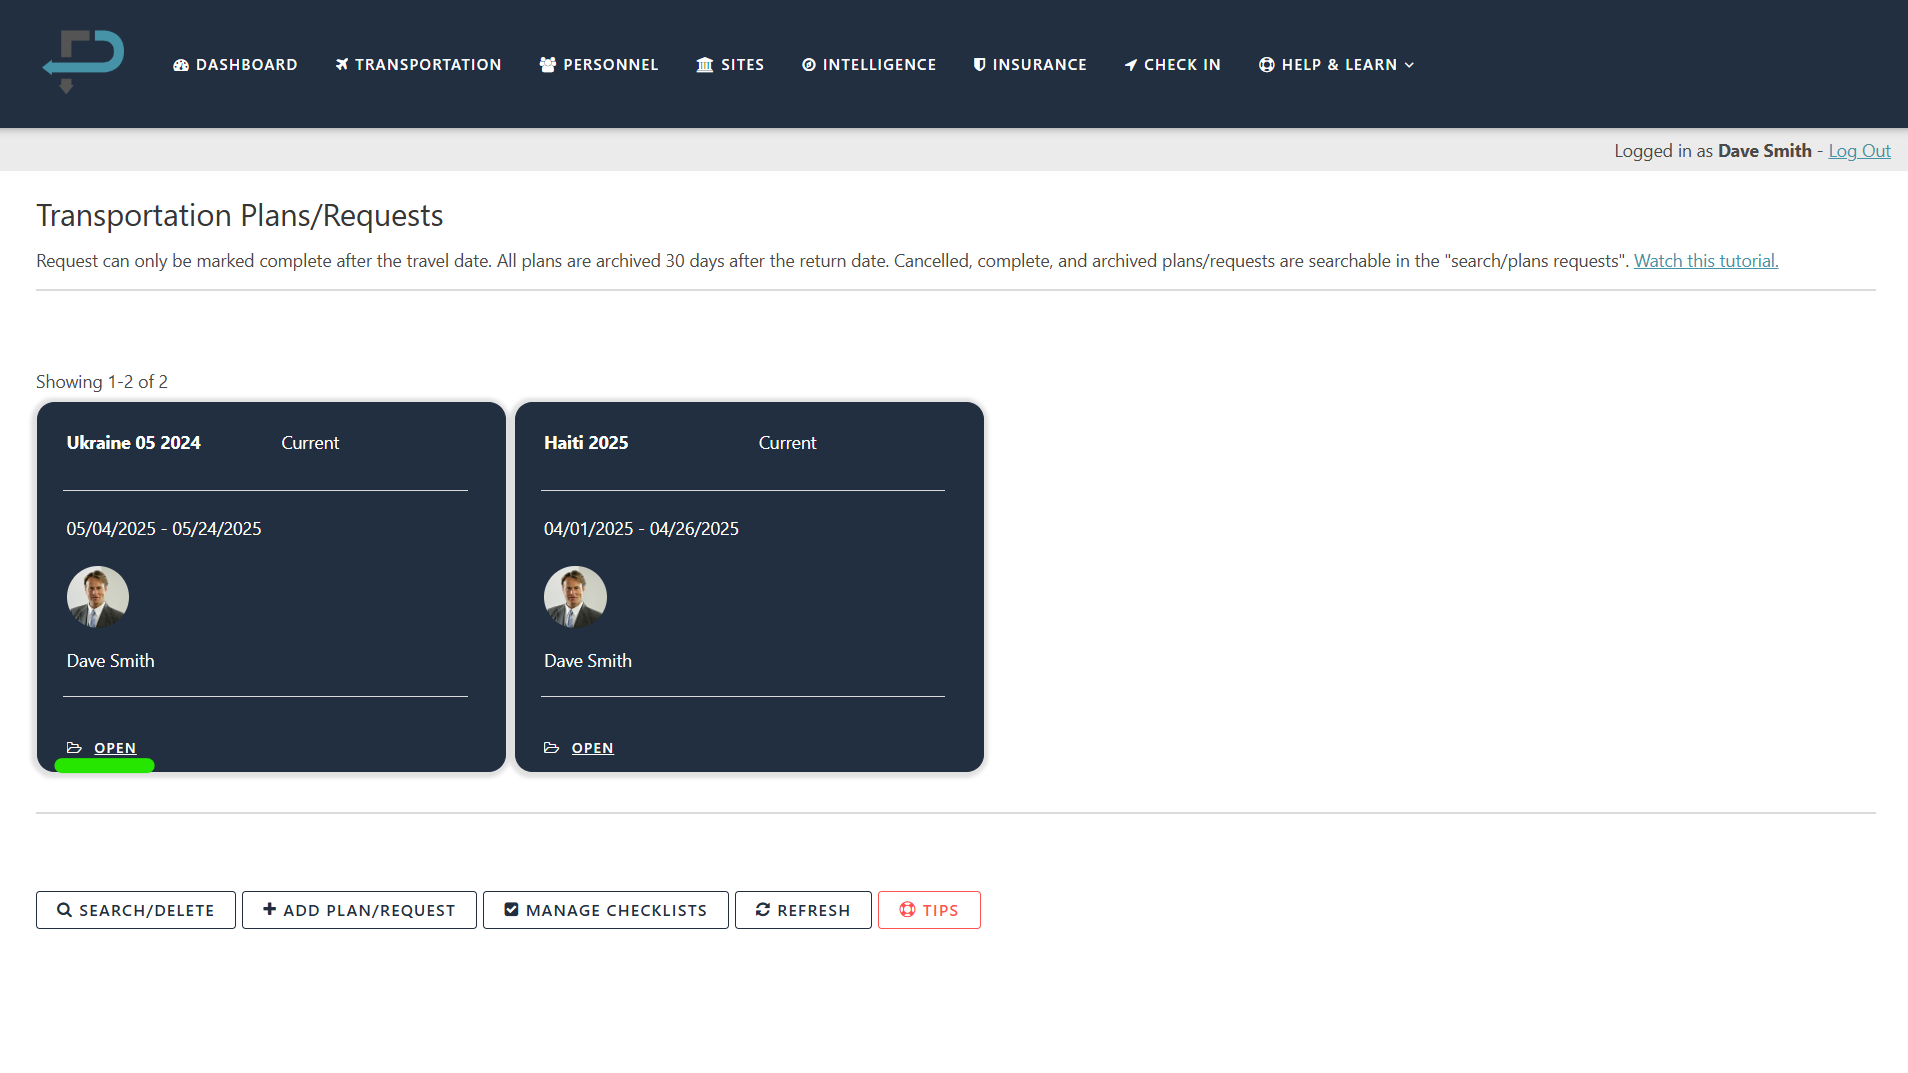
Go to the “Transportation” page
Find the plan request and click on it. The status is either current or requested.
Click “approve” or “cancel” at the top of the page.
An email notification will be sent to the associate that submitted the plan/request notifying them that it was approved or cancelled.
Adding Plans or Requests
Administrators and Associates can add a plan or request. Associates must be onboarded in order to receive email notifications.
Click on the “transportation plan/request” button on the transportation page.
Enter the required information.
If the requestor is traveling, select yes under the “are you traveling?” field.
Add traveling associates and administrators (do not add yourself if you are traveling or you will receive duplicate notifications).
Select the travel start date.
Add any special instructions or requests. This information is visible to vendors and associates as well as administrators.
Click “submit”.
Adding Detailed Itinerary Information
Detailed itineraries provide information regarding specific movements from one point to another.
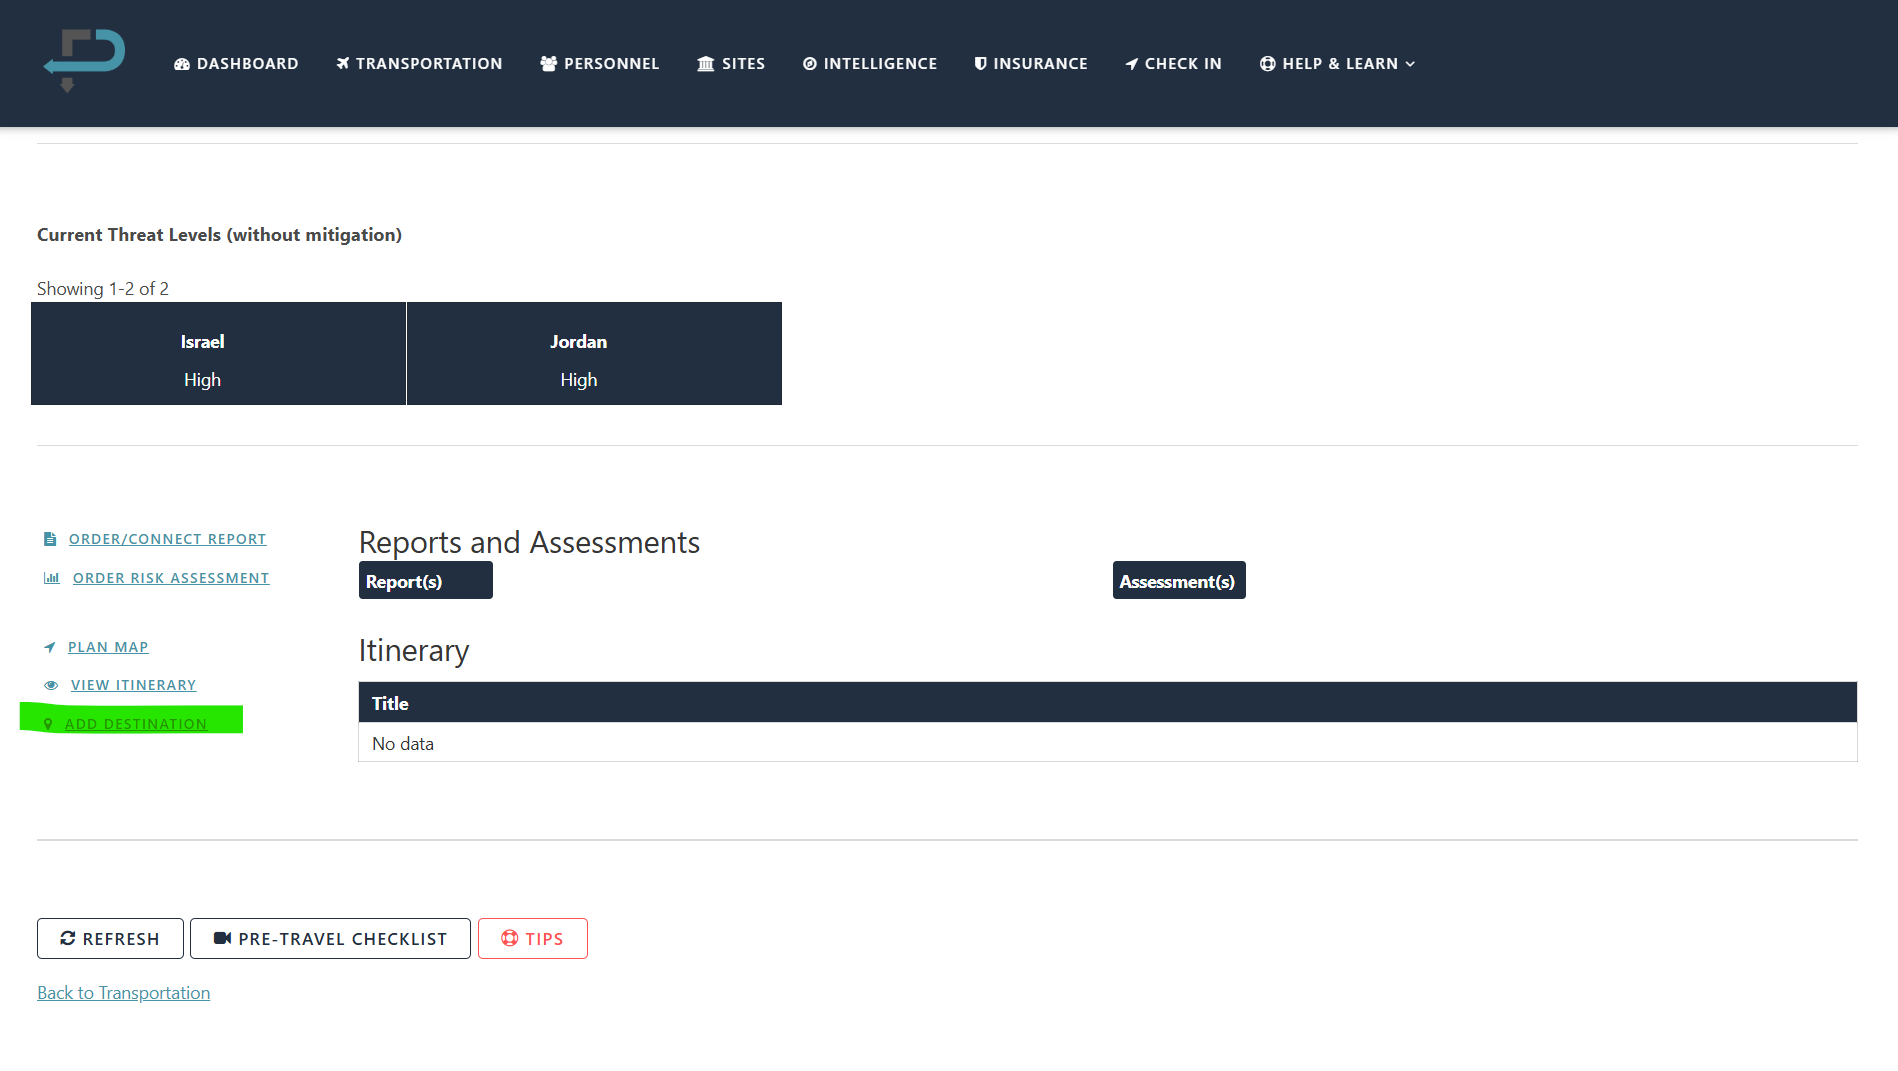
Go to the transportation plan or request you wish to add itinerary information to and click on it.
Scroll down to the itinerary section.
Click “add destination.”
Select yes or no if you will require services for this destination.
Select the movement type. For example, arrival for arriving back at home, departure for leaving home, and arrival and departure for arriving at a hotel and then departing the hotel.
Add the dates and times for the movement type.
If applicable, select “yes” in the “Is the location a current site” field to automatically associate it with the itinerary.
Add a title for the location (i.e., Grand Hotel, Phoenix)
Add the address or use geo-coordinates for a more accurate location (i.e., copy and paste from Google Maps or another mapping system).
Select yes or no if you want to send an email notification (without any specific information) to all affiliated users.
Click “submit”.
Important: You must click Complete Itinerary to make the itinerary visible to all affiliated users.
Complete a Transportation Plan/Request
Administrators have the ability to complete a plan/request after the initial travel date has passed.
Click on the “Transportation” page.
Click on the plan/request you wish to complete.
Select “Plan/Request Complete.”
Select “Confirm Completion” under the “Mark Complete” field.
This will automatically move the completed plan/request to your searchable database for future reference.
Add Comments
Administrators, associates, and internal agents can add comments to a plan/request. Vendors cannot.
Click on the “open” button in the “details” field in the transportation plans/request section.
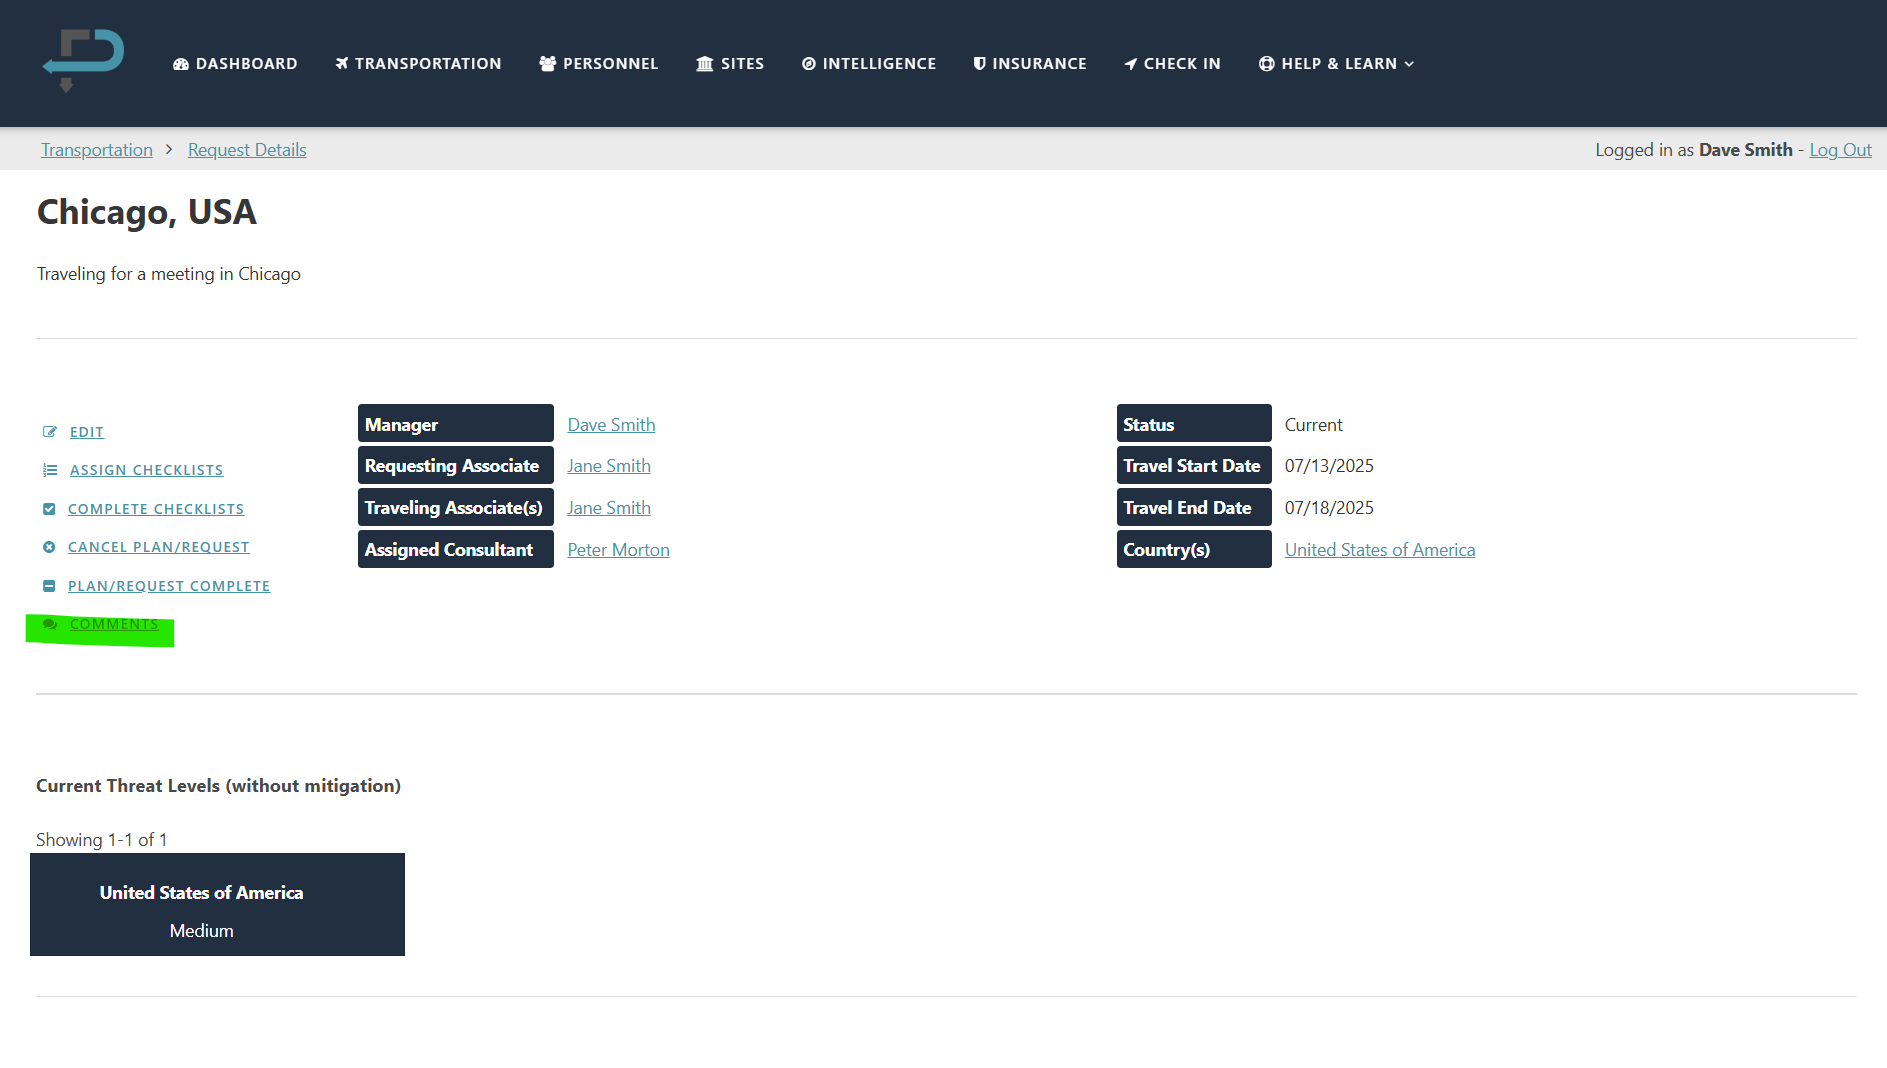
Click on the “comments” button.
Add your comments (character limit is 750).
Select “yes” in the “send notification” field if you would like to notify all internal personnel associated with the plan/request.
Click submit.
An email alert will be sent to personnel, but the comments are only viewable in Predictions.


